The Print Page
After submitting in Step 5, the system moves to the print page. This is a formatted summary of everything the client selected, designed to be printed and given to the client to take with them.
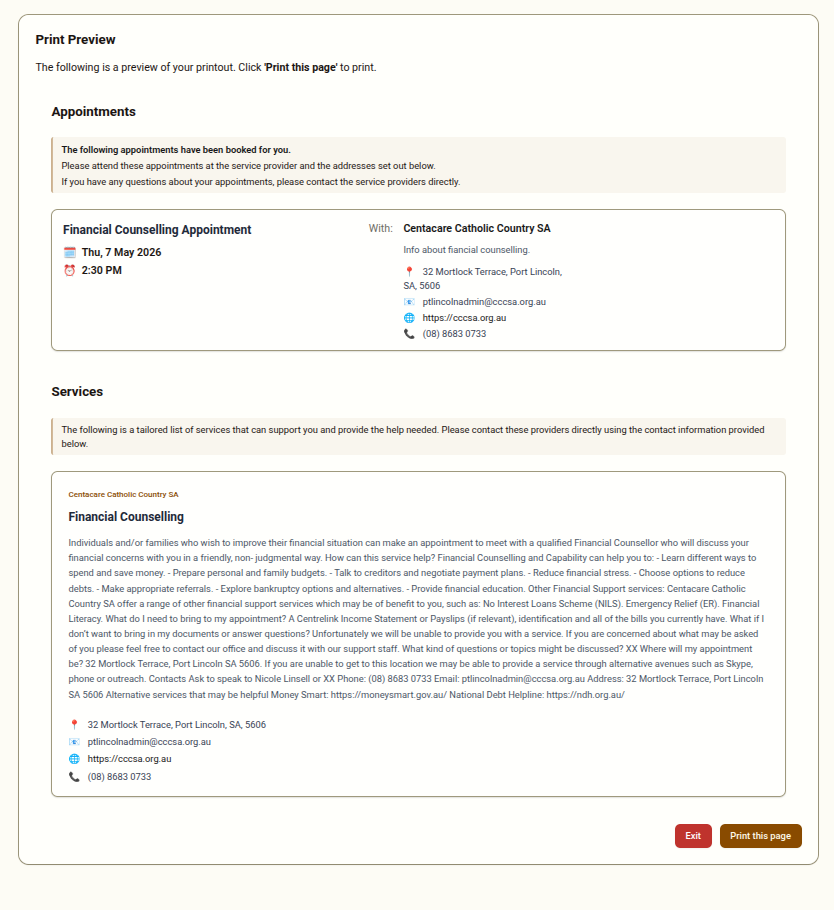
What the Printout Contains
Section titled “What the Printout Contains”The print page includes:
- Selected appointments — each booked service with the provider name, appointment date and time, and any relevant notes about attending
- Selected contact information — each information listing the client selected, with the provider’s name, phone number, email address, and physical address
The layout is formatted for printing, with clear sections and page breaks where needed.
Printing
Section titled “Printing”Click the Print this page button to open the browser’s print dialog. From there you can:
- Print directly to a connected printer
- Save as a PDF if a physical printer is not available
Give the printed copy to the client before they leave.
After Printing
Section titled “After Printing”Once the printout has been given to the client, click Exit to return the interface to its starting state. This:
- Clears the session data from the screen
- Resets the cart (all selections are cleared)
- Returns to Step 1, ready for a new session
If the Printer Is Not Working
Section titled “If the Printer Is Not Working”If you cannot print, you can:
- Save the page as a PDF (use the browser print dialog and choose “Save as PDF”) and email it to the client or their support worker
- Manually note down the key information for the client
Contact your administrator if printing issues persist.